Check the initial setup
Check the following before creating your first article. You do not need to configure everything perfectly at once.
The app menu has four items: Smart Agent Blog, Articles, Setting, and Feedback. Smart Agent Blog opens the app home. Initial setup happens under Setting.
Required checks
1. Confirm that a target blog exists
Shopify blogs are managed in Shopify admin under Content → Blog posts. Most stores already have a default blog such as News.
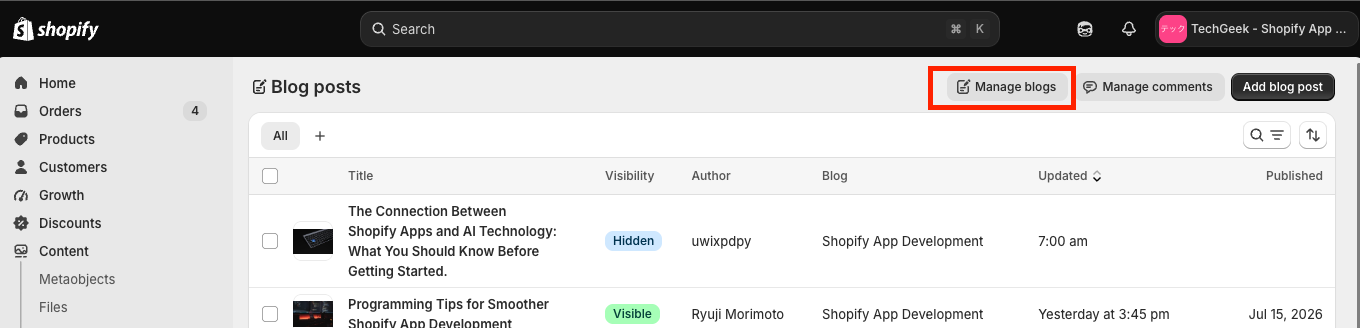
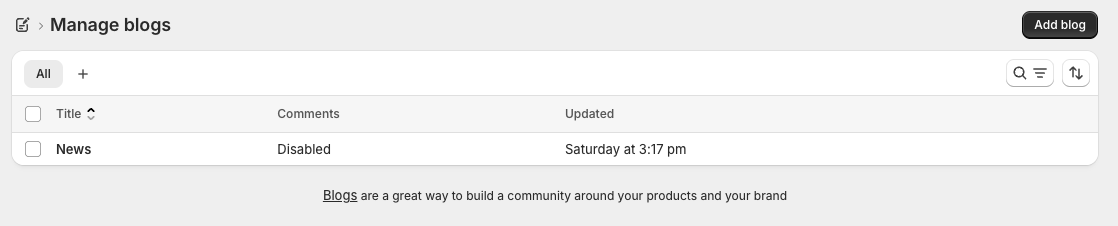
If no blog exists, create one in Shopify first. You can also open Shopify's blog management page from Create New Blog below the Blog field in the article editor.
2. Register at least one author
An author is required to save an article. Without one, saving shows Please enter article author and the article is not saved.
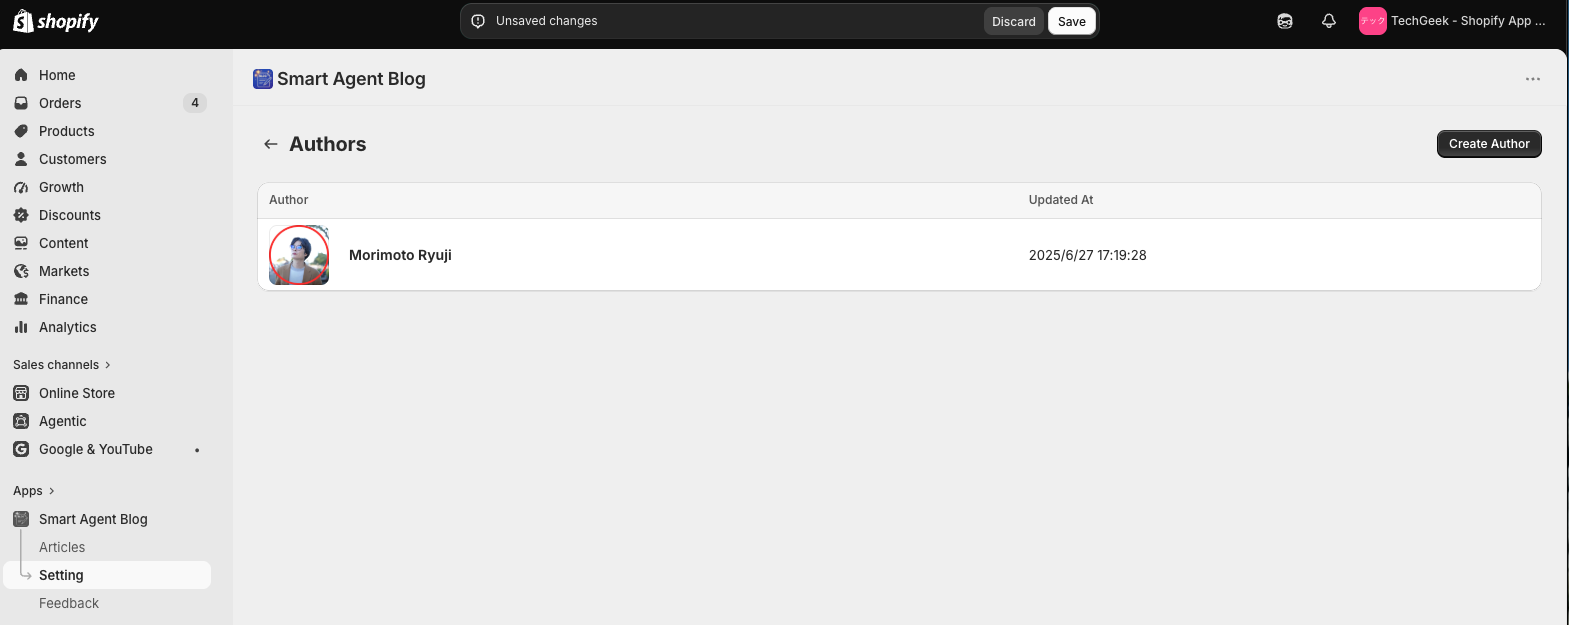
- Open Setting.
- Select Manage under Authors.
- Select Create Author in the upper-right corner.
- Enter Name. This is the only required field.
- Add a job title, description, image, social URLs, and tags if needed.
- Select Save.
See Register an author for details.
3. Check the published theme and customizations
Record the currently published theme name and whether custom CSS, theme code, or blog-related third-party apps are in use. Do not change the published theme yet.
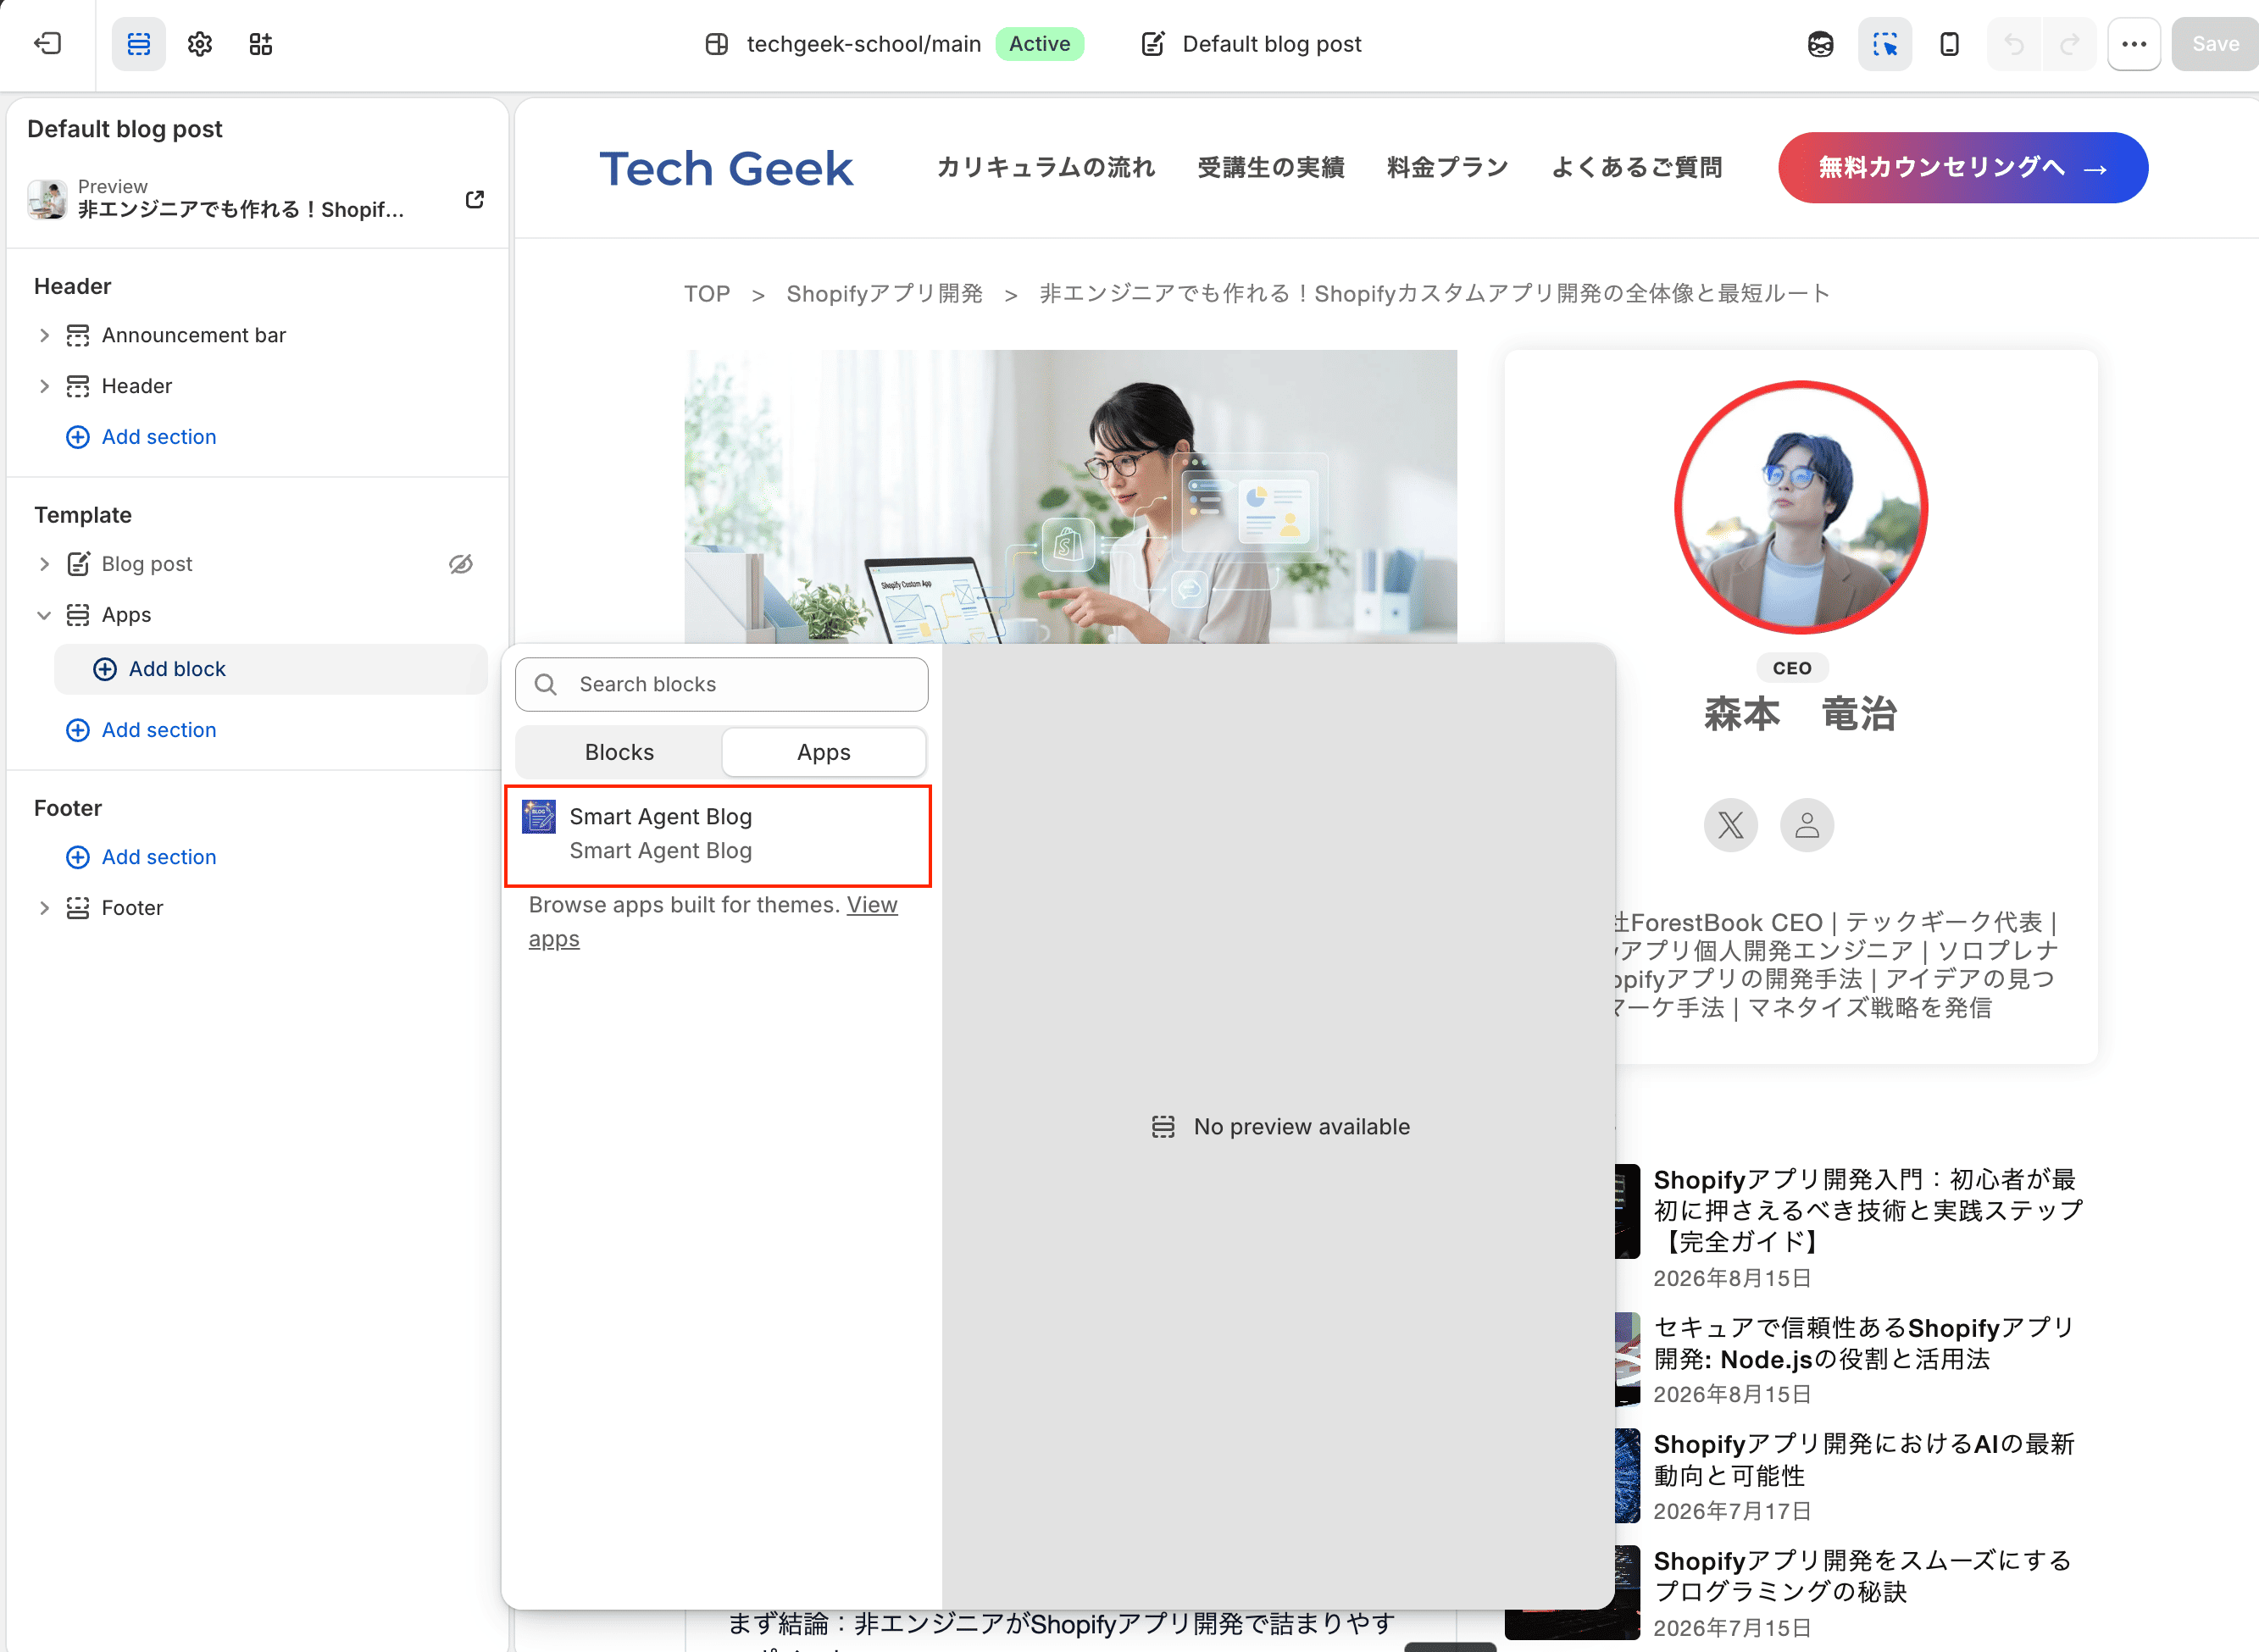
To keep existing articles while switching the display, follow Safely switch from your existing blog. You do not need to change the published theme at this stage.
What is on the Settings page
Setting lists five entries, each opened with its Manage button.
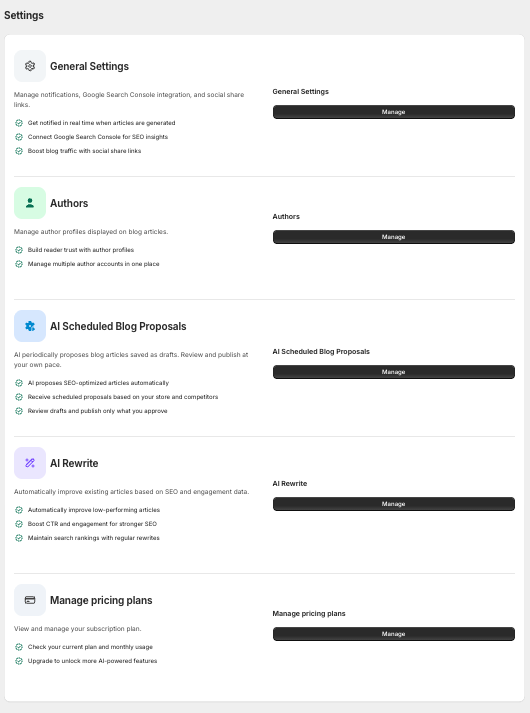
| Entry | What it covers |
|---|---|
| General Settings | Notification email, estimated reading time, Google Search Console, social share links |
| Authors | Author profiles shown on articles |
| AI Scheduled Blog Proposals | AI proposes articles on a schedule; choose draft saving or automatic publishing |
| AI Rewrite | Improvement proposals for existing articles |
| Manage pricing plans | Review and change your subscription |
Only Authors matters before your first article. Everything else can wait.
The free plan allows up to 10 articles in total, and AI Rewrite requires a paid plan. See Plans and usage limits.
Where related articles, popular articles, tags, share buttons, and the author appear on the storefront is configured in the Shopify theme editor, not in the app. See Display articles on your store.
Settings you can configure later
- Notification email under General Settings
- Estimated reading time
- Google Search Console
- Social share link destinations
- AI Scheduled Blog Proposals
- AI Rewrite
These settings can be changed at any time under Setting.
If the Smart Agent Blog home screen shows the Welcome to Smart Agent Blog! banner, use its Initialize Tutorial button to open the in-app setup guide. It walks through the editor, author creation, general settings, AI settings, article generation, rewrite settings, and theme setup.
Note that this button resets your tutorial progress to the beginning. You cannot resume where you left off, so if you already worked through part of the tutorial you will need to start over.
Checklist
- A target Shopify blog exists
- At least one author exists in Smart Agent Blog
- You identified the currently published theme
- You checked for custom CSS, theme-code changes, and blog-related third-party apps
- You decided to save the first article as Hidden
Next, check the display without losing existing articles.