Safely switch from your existing blog
Use a duplicated theme to test the new article display before changing what customers see.
Adding the section changes how the Blog post template displays articles. It does not by itself delete or rewrite existing titles, body content, images, URLs, tags, or publication status.
A template change affects every article assigned to that template. Your content remains, but typography, spacing, images, comments, and custom CSS might not look the same. Always test on a duplicated theme first.
What can and cannot change
| Item | What happens when you switch |
|---|---|
| Article title, body, images, URL, tags, and publication status | A theme-only change does not modify them |
| Original section settings | They remain available when you hide instead of delete the section |
| Typography, spacing, headings, and image width | They can change to the Smart Agent Blog presentation |
| Related articles, popular articles, tags, and sharing | Smart Agent Blog section settings control their presentation |
| Author | Only articles saved in Smart Agent Blog with an author selected display one |
| Publication date | It is included in the Smart Agent Blog article display |
| Estimated reading time | Only articles saved in Smart Agent Blog display one |
| Comments | They appear when comments are enabled for the Shopify blog |
| Custom CSS, custom Liquid, ads, structured data, and third-party app output | They might not carry over automatically |
A duplicated theme is a backup of the storefront presentation, not a backup of article content. Do not open and save existing articles in Smart Agent Blog while you are only testing the theme switch.
Both come from data stored on the article when it is saved in Smart Agent Blog. Articles published before you installed the app show neither until you reopen them, select an author, and save. Adding the theme section alone is not enough.
1. Record the current setup
Before making changes, write down or capture screenshots of:
- The name of the currently published theme
- The Blog post template names
- The article page sections and their order
- Author, date, comments, and related-article settings
- Any custom CSS, theme-code changes, or third-party app output
If an agency or developer maintains your theme, tell them that you plan to add an app section to the Blog post template. Their deployment process could overwrite uncoordinated theme changes.
2. Choose representative articles
Choose three to five articles with different content, such as:
- A typical article with text and images
- A long article or one with many headings
- An article with a table, video, embed, or product content
- An article with comments, custom HTML, or third-party app output
- An article assigned to another Blog post template
If an article contains custom HTML, an iframe, a script, or app-specific markup, save a separate copy of its body HTML before editing it.
3. Duplicate the published theme
- In Shopify admin, open Online Store → Themes.
- Open the … menu for the published theme.
- Select Duplicate.
- Give the duplicate a name that includes the work date.
Example: Smart Agent Blog test August 1
For the remaining steps, customize this unpublished duplicate. Do not customize the published theme.
4. Add Smart Agent Blog to the duplicate
- Select Customize for the duplicated theme.
- Use the page selector to open the Blog post template.
- Select Add section → Apps.
- Select the Smart Agent Blog section.
- Keep the new section visible and hide the theme's original article-body section with the eye icon.
- Select Save.
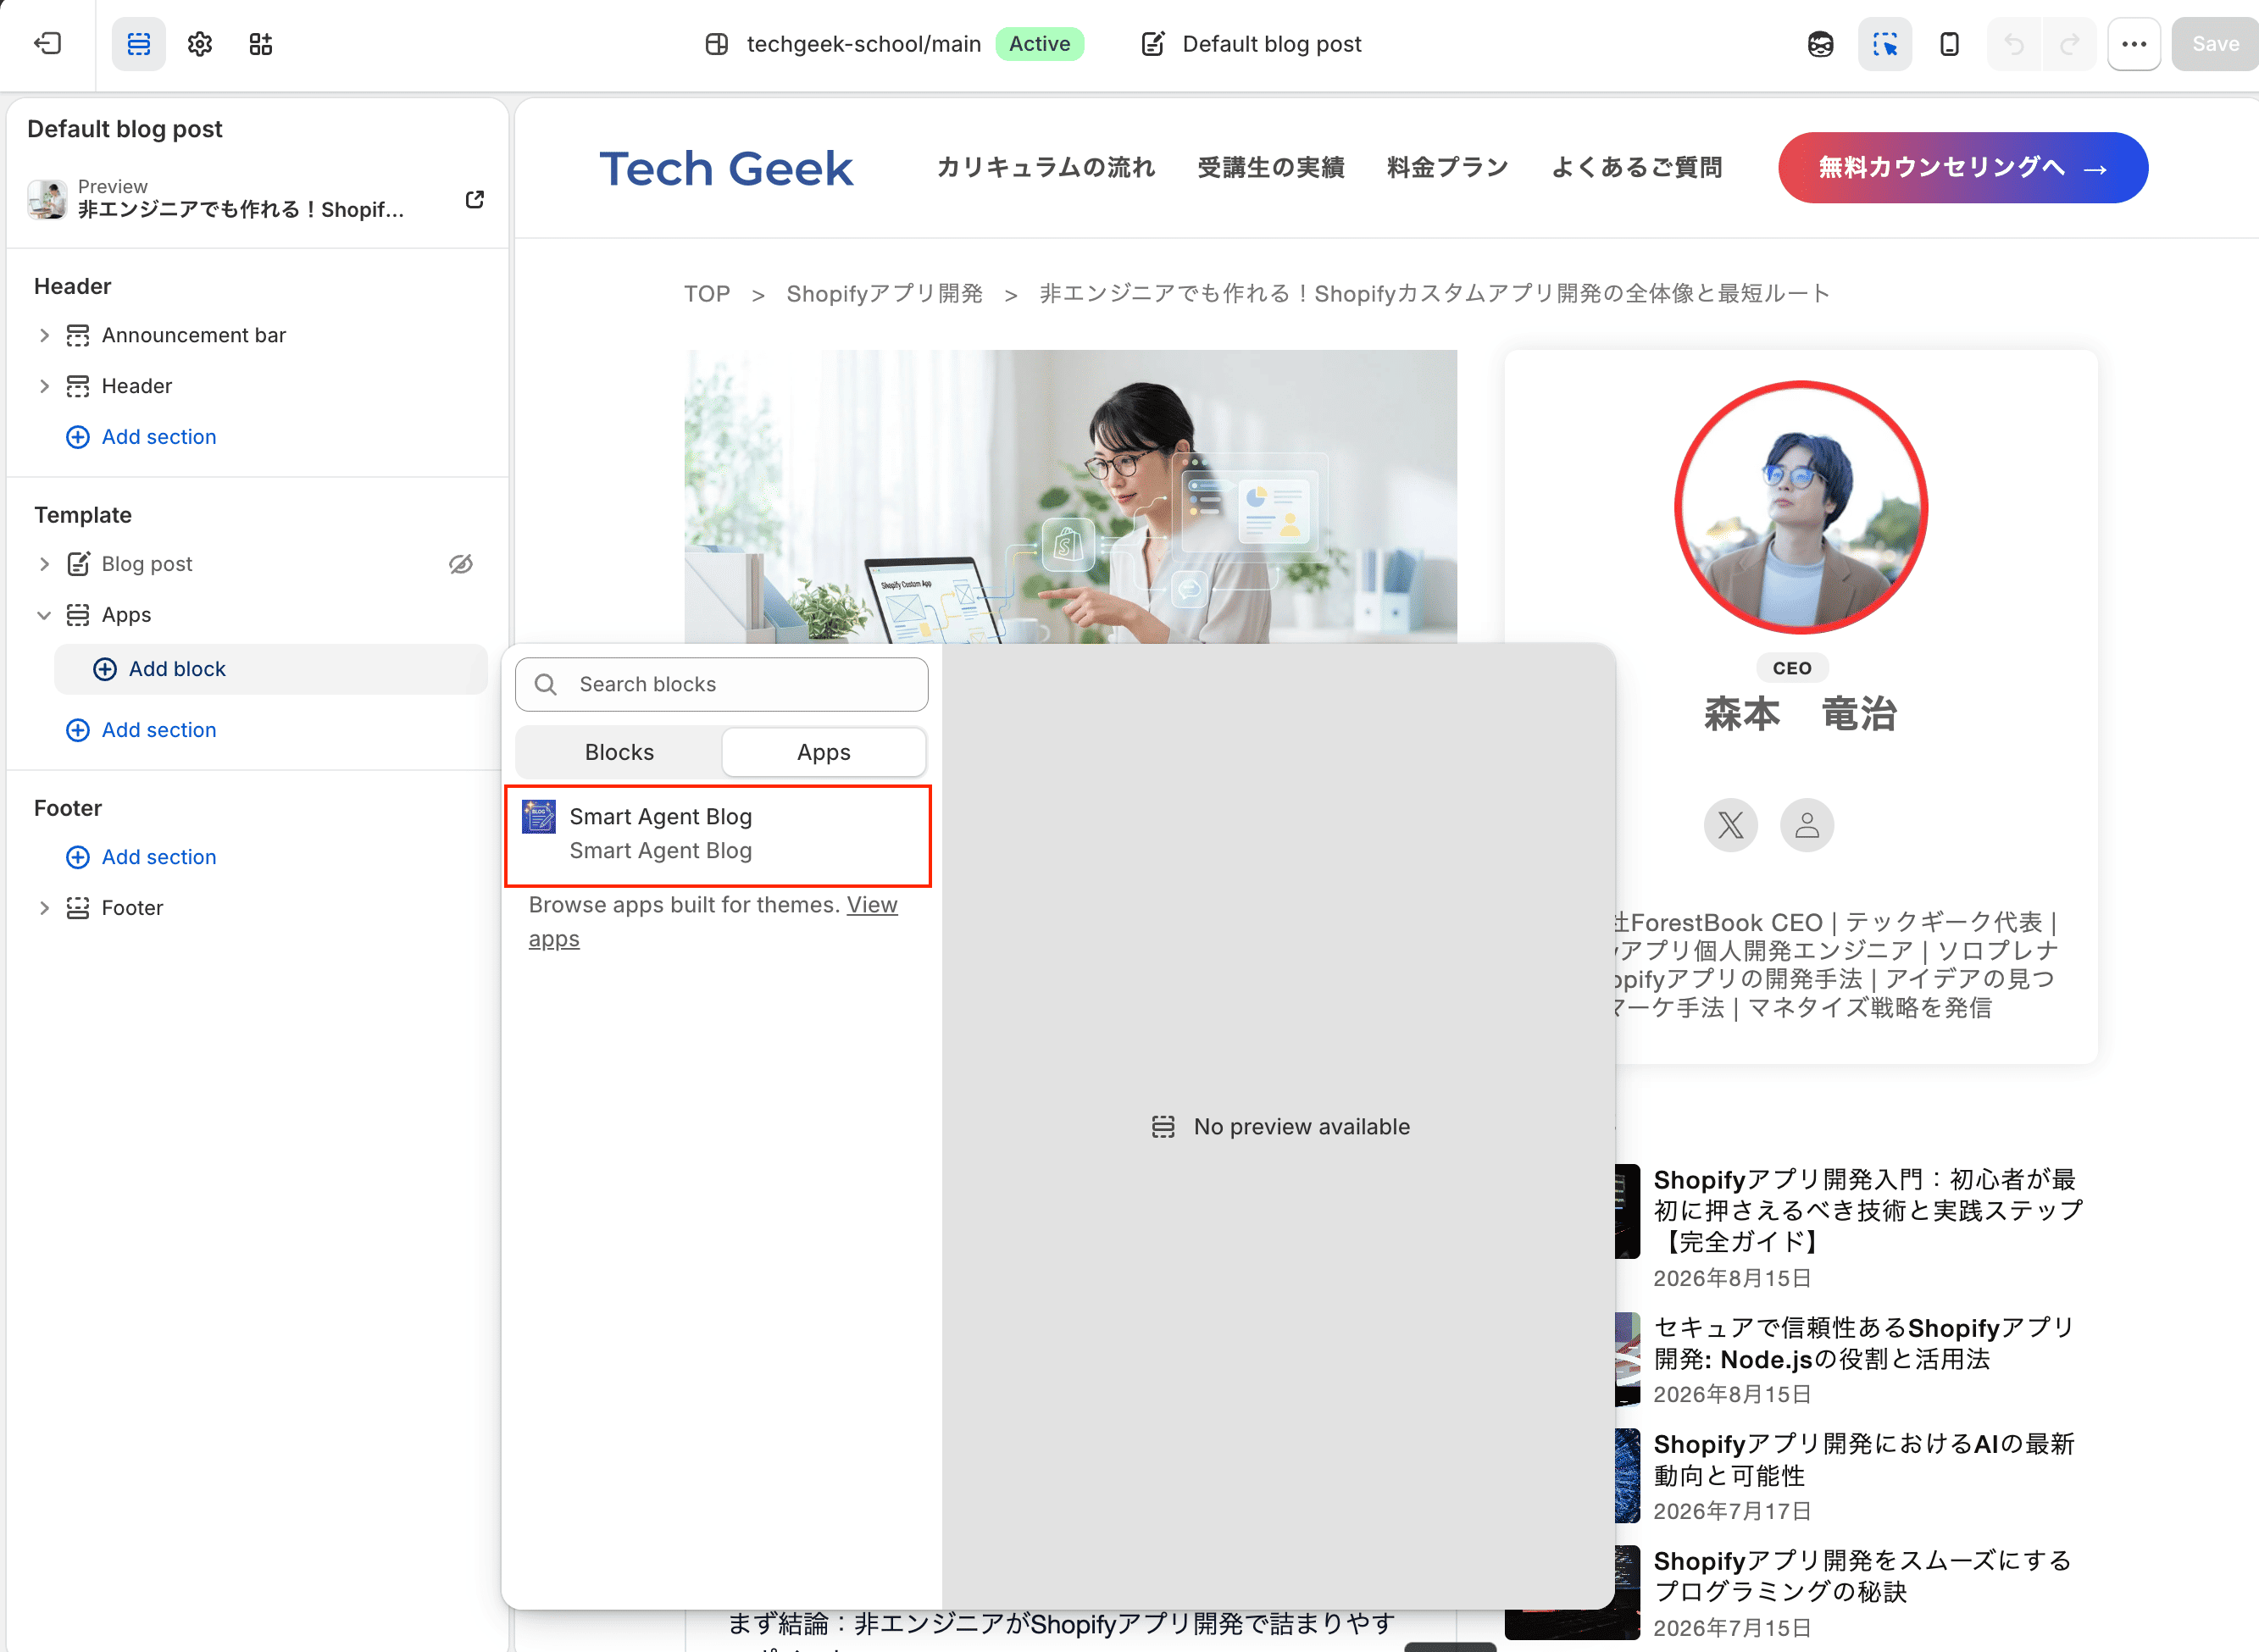
If Apps or the Smart Agent Blog section is missing, stop here. An older or custom theme might not support app sections. Do not edit theme code yourself; contact your theme developer or support.
Keeping the section makes rollback simple. If a problem appears, hide Smart Agent Blog and show the original section again.
If the article body appears twice, the original article section and Smart Agent Blog are both visible. Show only one of them.
Select the new section to set where the author, related articles, and share buttons appear. Display articles on your store lists every setting.
5. Check representative articles
Open each selected article in the duplicated theme preview. Check both desktop and mobile views.
For articles already saved in Smart Agent Blog, you can also select Preview in the article editor and choose the duplicated, unpublished theme.
- The title, body, and images are complete
- The body appears only once
- Headings, links, tables, videos, and product content work
- Date and tags appear in the intended places
- Comments, related articles, and sharing appear when required
- Text and images do not overflow the screen
- Custom CSS, custom Liquid, and third-party apps still work as required
- Ads, banners, structured data, and other features from the original section are accounted for
- Header, footer, breadcrumbs, and sidebar look correct
A missing author is expected at this stage: older articles show one only after they are saved in Smart Agent Blog with an author selected.
If your theme has multiple Blog post templates, repeat these steps for each template you intend to switch. Editing one template does not update the others.
6. If something is wrong
Keep the duplicate unpublished while you fix it.
- Duplicate body: hide the original article-body section
- Missing author: check Select Author Display Method in the section, then assign an author to the article and save it
- Missing custom component: identify the original section, Liquid, or third-party app responsible for it
- Broken layout: check for a conflict between custom CSS and Smart Agent Blog CSS
If custom Liquid, theme code, or a third-party app is involved and the cause is unclear, contact your theme developer or support before publishing.
7. Publish the tested theme
- Choose a low-traffic time.
- Open the duplicate theme's action menu and select Publish.
- Open the same representative articles on the live storefront.
- Check them again on desktop and mobile.
- If possible, repeat the check in a private browsing window.
Roll back to the original display
If you find a problem, open Online Store → Themes and publish the previous theme again.
Republishing the theme restores the storefront presentation. It does not undo article-body changes saved from Smart Agent Blog. Keep the previous theme until the switch is stable.
Before disabling or uninstalling Smart Agent Blog, show the original article-body section again or return to the previous theme. Otherwise, the article body might remain hidden.
Editing an existing article in Smart Agent Blog
Changing the theme and editing an article are separate operations. Saving an existing article in Smart Agent Blog overwrites these fields with whatever the editor shows:
- Body
- Title
- Destination blog
- Author
- Visible / Hidden
- Tags
- Thumbnail image
- SEO title, SEO description, and URL handle
- Theme template
Custom HTML can also be normalized during saving.
When you open an existing article, the Author field is filled with an author registered in Smart Agent Blog. That may not be the name the article used before, so check it before saving.
Start with one low-risk article that has no custom HTML or third-party app markup. Record the original body, tags, URL handle, author, and status, then compare the preview and settings before and after saving. Avoid saving many existing articles until the first test is complete.
Common concerns
Will this break the existing blog design?
The theme switch does not delete article data, but the presentation can change. Test the duplicate first and keep the previous theme so you can republish it.
Will customizations remain?
They remain in the original theme, but Smart Agent Blog might not reproduce them automatically. Check custom Liquid, CSS, and third-party app output separately.
Can I convert all existing articles at once?
No. There is no bulk conversion — the switch only changes how articles are displayed. Articles that need an author or an estimated reading time have to be opened and saved individually.
How do I know the initial setup is correct?
The basic display setup is complete when the body appears once and every checklist item passes for representative articles on desktop and mobile.
Continue to Create your first article. To review only the section controls, see Display articles on your store. You can also review Shopify's theme duplication instructions.