
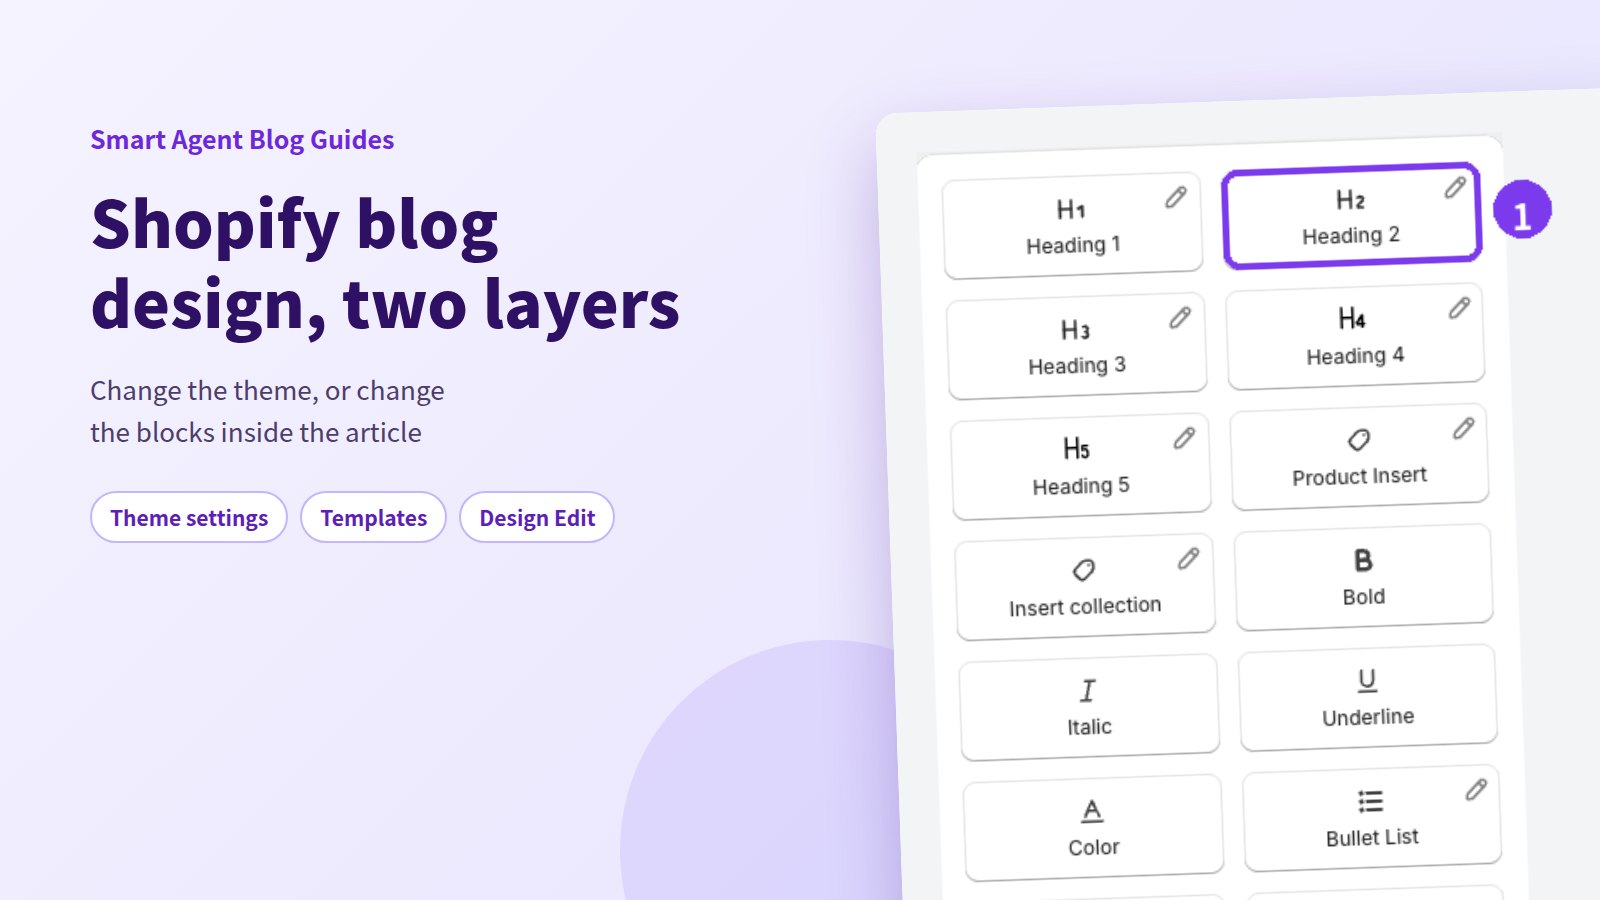
The writing is done, but the published post looks like a wall of text. On Shopify, how a blog post looks is decided mostly by the theme. So when you think "I want this one post to stand out," it is not obvious which screen to open.
Here is the short version. Shopify blog design lives on two layers. Page-wide color, type and section order belong to the theme editor. Decoration inside the article — how a heading, a quote or a callout is drawn — belongs to the article editor. Shopify handles the first layer well on its own. The second layer is not part of the standard editor, and that is where Smart Agent Blog's Design Edit comes in, on a paid plan. This guide maps both, with the real screens.
- Why blog post appearance is split between the theme layer and the article layer
- Exactly what Shopify can change on its own: theme settings, sections and alternate templates
- Where the standard editor stops, and why
- How Design Edit restyles headings, quotes, callouts and speech balloons
- What to decide before you change anything
Why posts end up looking however the theme decided
We reviewed the blogs of 110 Shopify stores in Japan in August and September 2026 while preparing Smart Agent Blog proposals. Of the 78 posts where we recorded heading use, 27 (about 35%) had no headings at all. One post in three ran as a single unbroken block of text.
That is not laziness. In the standard editor you can mark text as a heading, but you cannot see or adjust how it will be drawn on the storefront, and there is no obvious place to change it. So people stop thinking about presentation and just pour the text in.
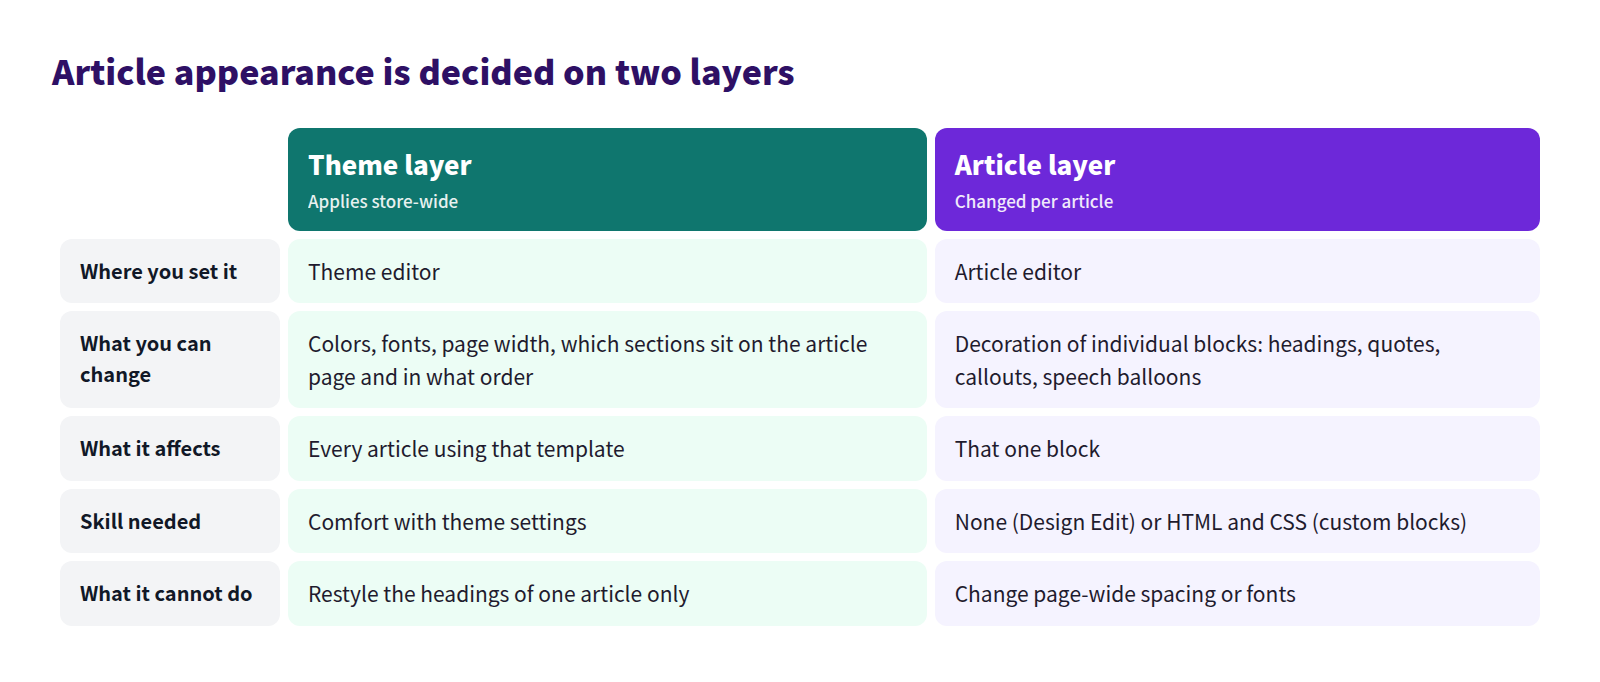
Mixing the two layers is what stalls the work. "Make the headings stand out" is a completely different screen depending on which layer you mean.
What Shopify can change on its own
Quite a lot, actually. Here is the full picture.
Theme settings change the whole store
Open Online Store → Themes → Customize, then open Theme settings. You can change the logo and favicon, colors, typography (typeface and size), layout (page width and spacing between sections), animations, and the look of buttons, cards and badges.
Everything here applies store-wide, not just to the blog. If your posts feel hard to read, the cause is often a theme setting — body text set too small, or line spacing set tight — rather than the writing. It is worth checking before you rewrite anything.
Rearranging the sections on the article page
In the theme editor, use the page selector at the top and open the Blog post template. From there you can add, remove and reorder sections. Which sections exist depends on your theme and its version.
What sits above and below the article body — related posts, a newsletter signup, featured products — is decided here. You can change what happens after someone finishes reading without touching a single post.
Alternate templates let posts differ
Shopify supports more than one blog post template. In the theme editor, choose Create template, give it a name and pick the template it is based on. Then open the post in Content → Blog posts in Shopify admin and assign it under Theme template.
That lets you run, say, a plain editorial layout and a product-feature layout side by side. You are not stuck changing every post at once.
Formatting available inside the post
Shopify's standard rich text editor gives you headings, bold, italic and underline, bulleted and numbered lists, table insertion, images, video (YouTube and Vimeo embeds), links entered as a URL, and an HTML view. Tables are supported — that is worth stating plainly, because it is often assumed otherwise.
What it does not have is an automatic table of contents, or a product card that pulls in a product's name, image and price. And on decoration, all you can express is "this line is a heading 2." How that heading is drawn stays with the theme.
Where the standard approach runs out
This is the wall everyone hits eventually.
- Heading and quote styling comes from the theme. You cannot restyle them for one post only
- There is no built-in part for "put this warning in a highlighted box" or "show this staff comment as a speech balloon"
- Writing markup in the HTML view does change one post, but the markup can be reformatted on save and can break when the theme updates
- The theme editor also has a Custom CSS field, which is covered in Shopify blog custom CSS: what you can change without writing code
In short, Shopify on its own is good at the whole page and has nothing to say about one paragraph inside one post.
How this works in Smart Agent Blog
Smart Agent Blog builds the body out of blocks, and styling happens at the block level.
Pick the theme template per post
The article editor has a theme template field under Online Store, listing the article templates in your published theme. Any alternate template you created shows up here, so you can assign it without switching back to Shopify admin.
The pencil icon opens Design Edit
Look at the insert menu on the right of the body. Some blocks carry a small pencil icon. That is Design Edit. The user guide lists four block types that have it: headings, quotes, callouts and speech balloons.
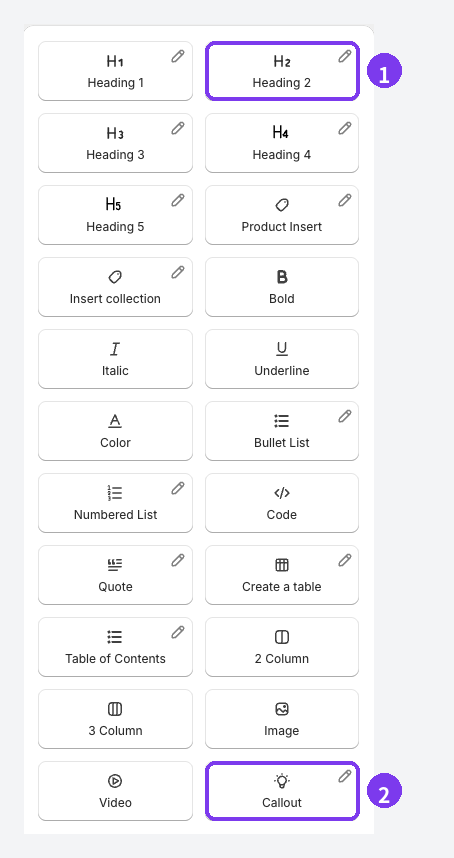
- Headings carry the structure of the post. Making Heading 2 and Heading 3 visibly different is what makes a long post readable
- Callouts hold conditions and warnings that must not be skimmed past
- Quotes present a customer comment or a cited source as its own thing
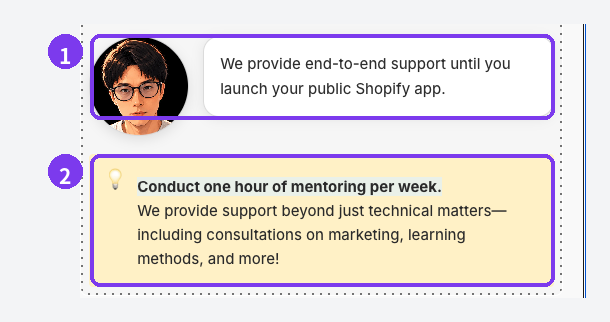
- Speech balloons turn a staff remark into something conversational. The block handle also flips the image to the other side
Check it in the body as you go
Styling changes show up in the body immediately. Below, a speech balloon and a callout sit in the article.
Custom blocks, if you write code
Add Custom Block at the bottom of the insert menu builds a block from your own HTML and CSS. The HTML style attribute works. JavaScript does not. Liquid tags are not processed and appear as plain text.
This needs real HTML and CSS knowledge and can break the storefront, so skip it if you are unsure and stay within Design Edit. The full specification is in Add content to an article.
Design Edit and custom blocks both require a paid plan. On the free plan you get a prompt when you try to use them. See Plans and usage limits for what each plan includes.
What it looks like finished
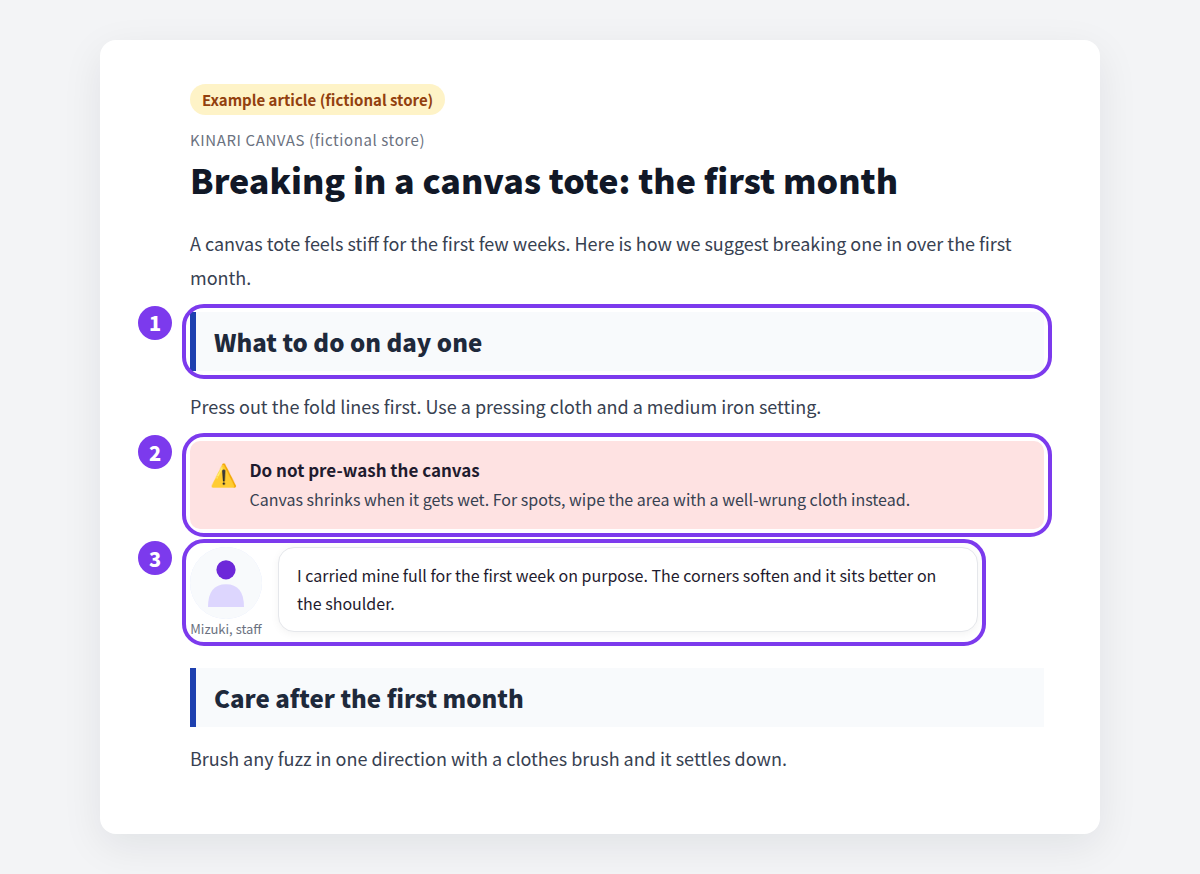
A fictional store below. Same words, but a heading, a warning callout and a staff balloon change how much a reader takes away from a quick scan.
For structuring the writing itself, see Headings and tables in a Shopify blog.
Decide these before you change anything
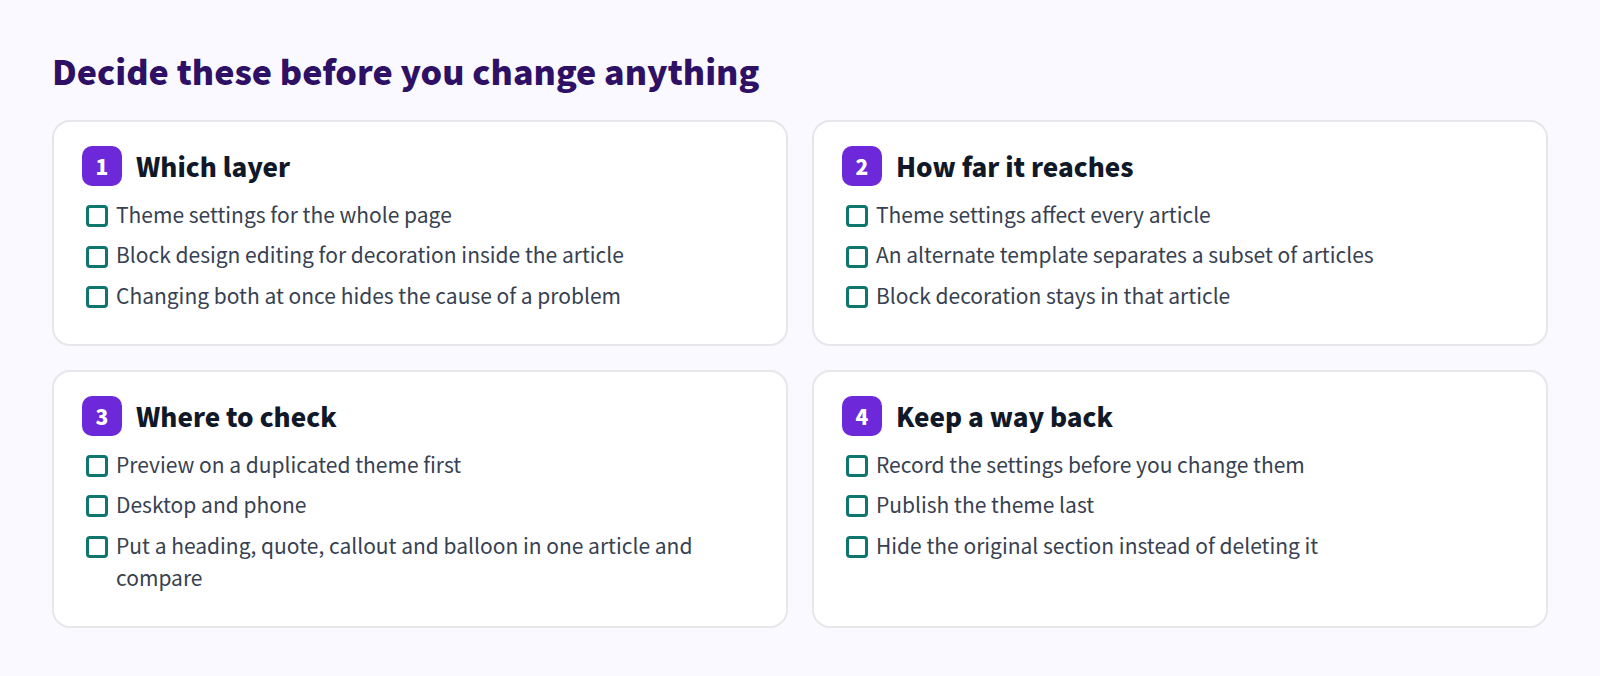
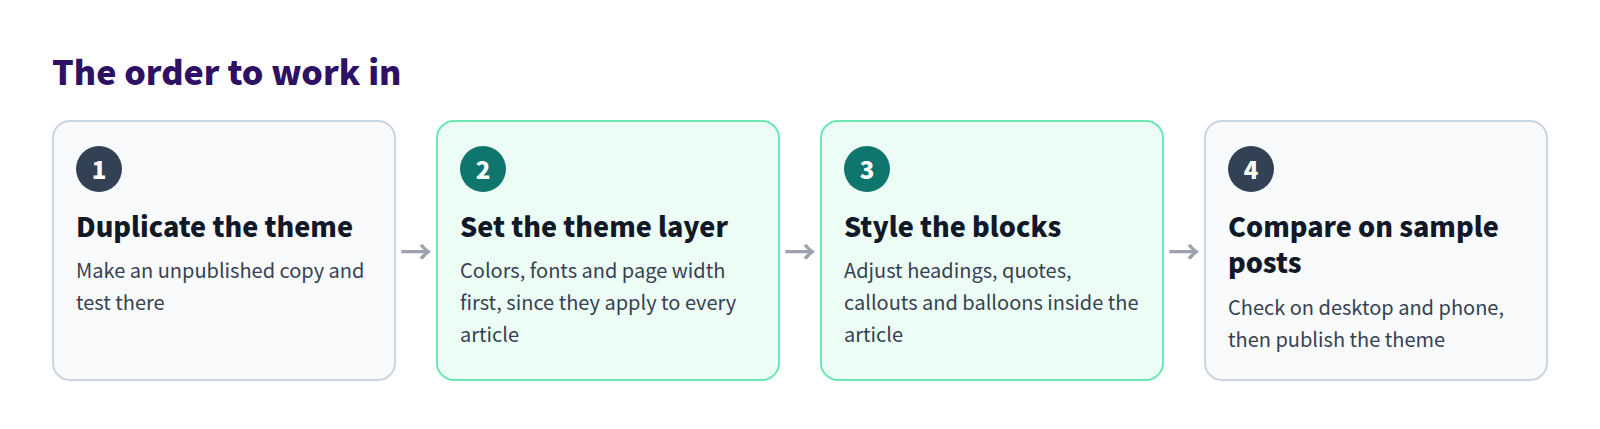
The one that matters most: do not work on the published theme. Duplicate it under Online Store → Themes and test on the unpublished copy before you switch. The full procedure is in Safely switch from your existing blog. If you are unsure whether your theme supports app sections at all, start with Shopify blog theme compatibility.
Common questions
If I change themes, do I lose the styling?
The blocks live with the article, so the content stays. Theme-owned properties — text size, spacing, page width — will change. When you switch themes, open three to five representative posts on a duplicated theme and compare before publishing.
Can I do anything on the free plan?
Theme settings, section rearranging and alternate templates are Shopify features and work on any plan. What the free plan does not include is per-block Design Edit and custom blocks.
Can I control how it looks on a phone?
Collection blocks let you set desktop and mobile column counts separately. Page-wide spacing and text size are theme settings. For the wider picture, see Making Shopify blog posts readable on a phone.
Summary
- Blog appearance is decided on two layers: the theme and the article
- Shopify on its own handles the theme layer well — settings, sections and alternate templates
- The standard editor cannot restyle a heading or a quote for one post only
- Smart Agent Blog's Design Edit does exactly that, on a paid plan, from the pencil icon
Duplicate your published theme and build one post on the copy. Once you know which layer each change belongs to, the rest goes quickly. For the bigger picture of what a blog app solves, see What a Shopify blog app can do.